It was such a nice day out today that I thought I might make a light dinner. So, I decided a quiche would be perfect! We had some goat cheese and cherry tomatoes in the fridge, so I thought that would be a delicious mix.
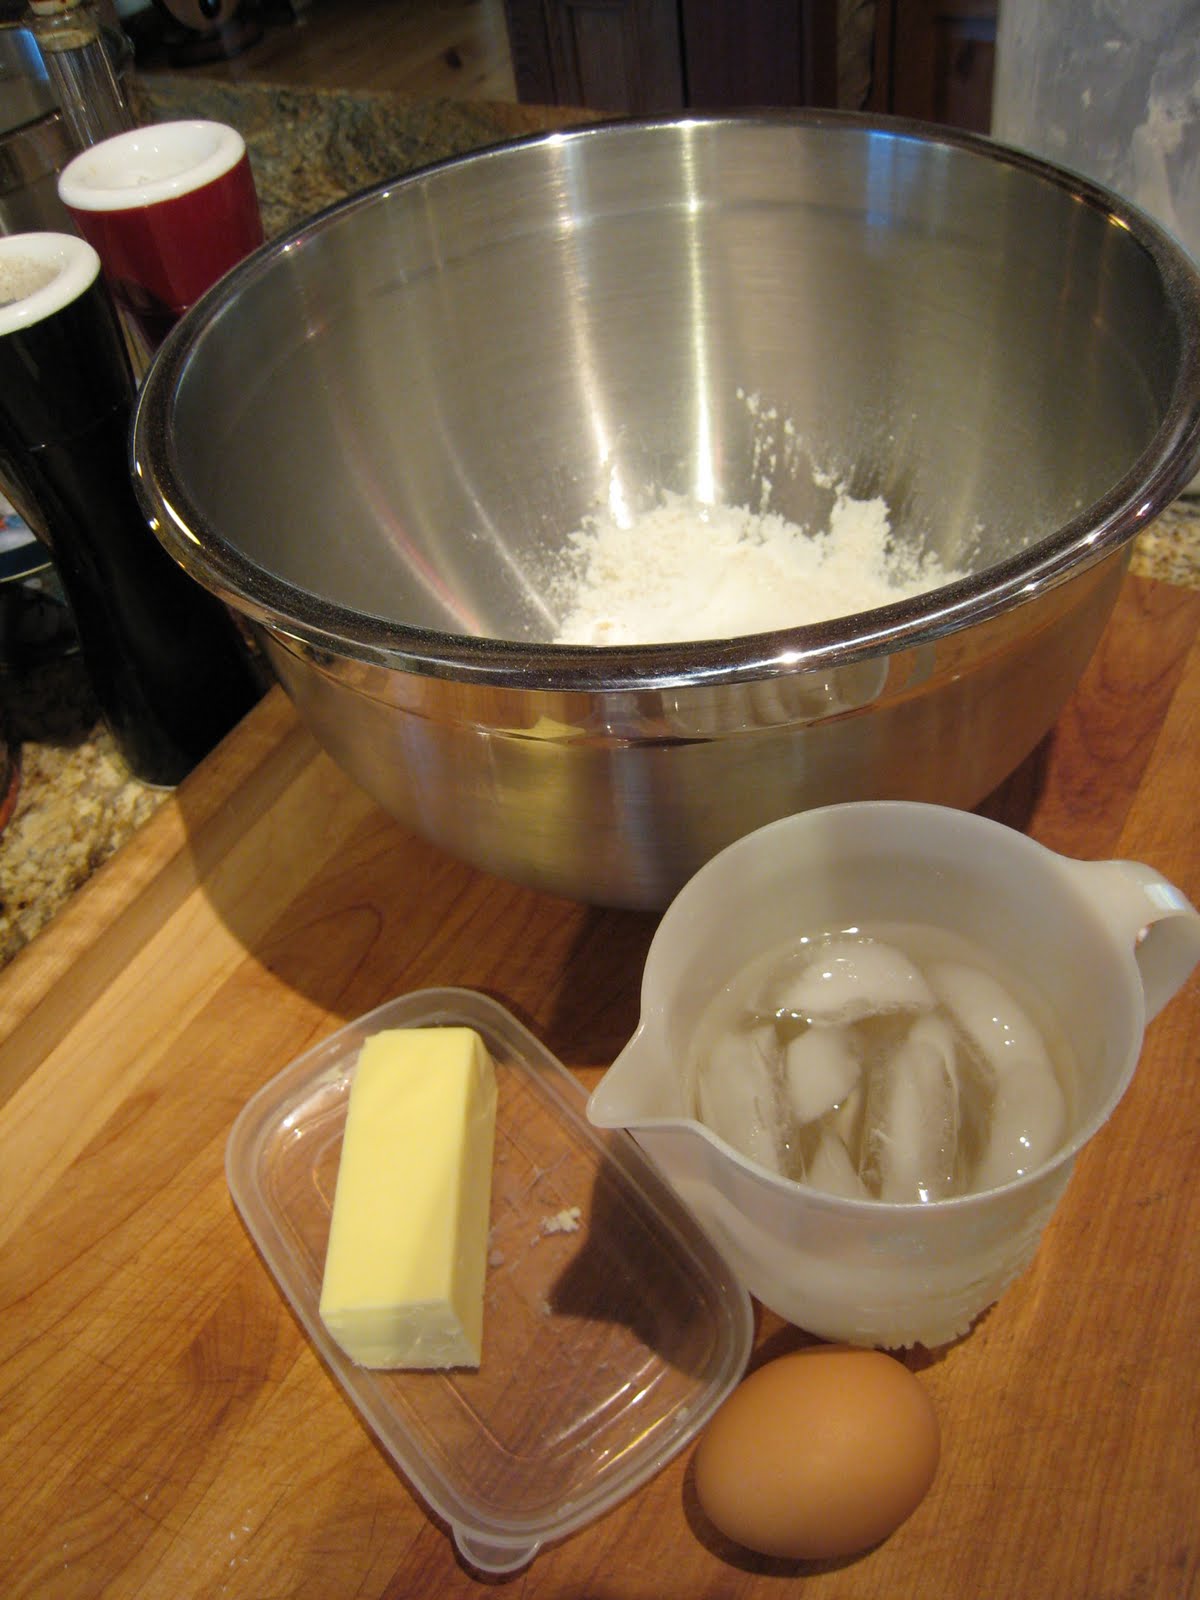
First, I made the dough for the crust. All you need for the crust is:
1/2 cup cold butter
1/2 tsp. salt
1/2 tsp. cracked black pepper
1/2 tsp. dried thyme
1 egg
1 Tbsp. ice cold water
1 1/4 cups unbleached all-purpose flour

Mix the flour, salt, pepper, and thyme together in a mixing bowl (with your hands...I promise it's fun!). Then chunk the butter, plop it in the bowl, and smoosh it around until the butter chunks are evenly distributed. Then pour in the ice water and mix it around. If it is too wet - add more flour. If it's too dry, add more water!

Then just wrap up your little dough ball in plastic wrap and stick it in the fridge while you work on the rest of your quiche!

Now, we will make the quiche filling. Here's what you'll need:
3 eggs
3/4 cup Half & Half
2/4 cup light soymilk
1 tsp. salt
1/2 tsp. ground nutmeg
1/2 tsp. dried thyme
8 oz. goat cheese
Combine everything in a bowl and mix it around until the eggs are completely combined. The goat cheese will be chunky , but that's fine!
By this time, your dough should be ready to roll (lol...)! Preheat the oven to 350 degrees F. Roll out the dough to be about 1/8 inch thick. Put it in a greased & floured tart pan and cut off the excess with a pairing knife. Then stick the whole thing in the fridge!

I had some extra pie dough and I didn't want to waste it, so I thought I would cut circles out of the dough (with a biscuit cutter) and bake them to make crispy, buttery crackers! They came out delicious!
I brushed them with egg so that they would brown and become nice and shiny!

After it's chilled, take your crust out of the fridge and cut a piece of parchment paper that fits in the bottom of the pan. Then put pie weights on top and stick it in the oven! Bake it for 15-20 minutes.
Then take it out of the oven and remove the parchment paper and pie weights. Brush the entire thing with egg and stick it back in for about 2-3 minutes. This will brown the crust and seal it off from the moisture in the egg mixture.

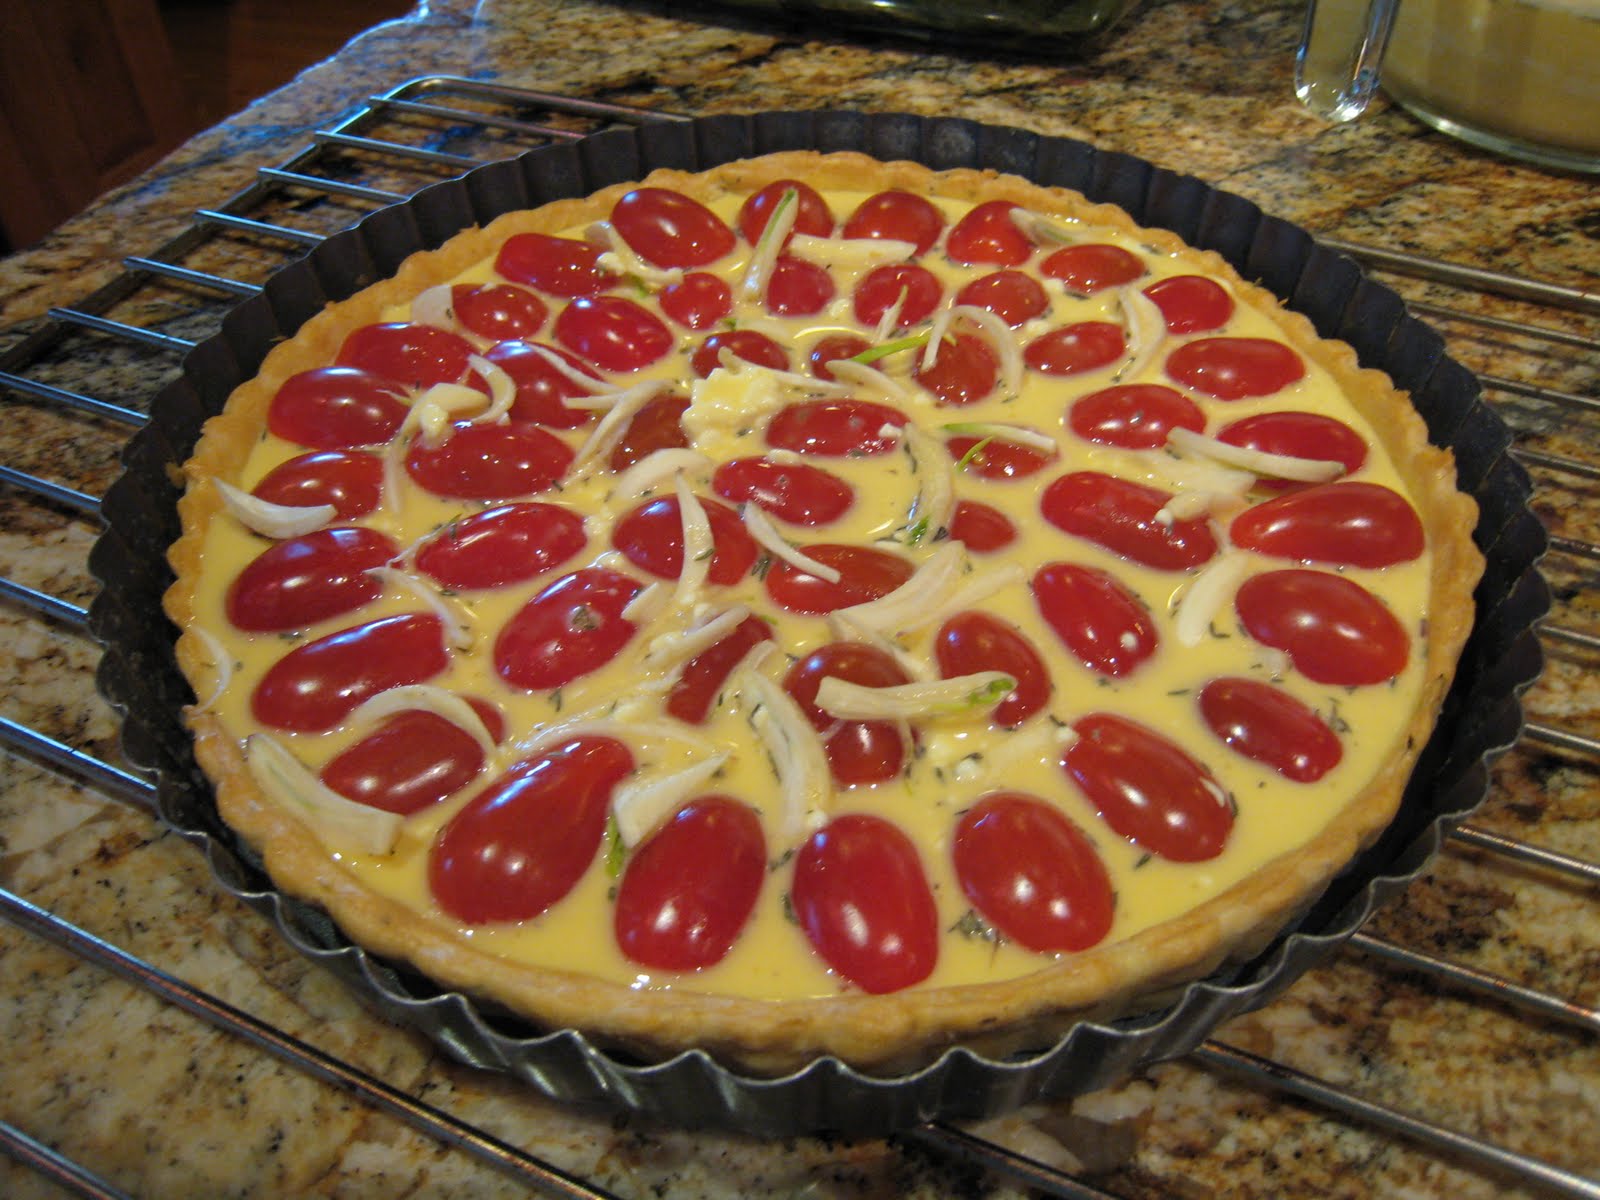
Once it's brown and delicious-looking, take it out and let it cool a little. Halve cherry tomatoes and place them on the pie crust cut-side down.


Sliver garlic cloves and sprinkle them over the tomatoes. Then poor the egg mixture over the whole thing, leaving the tops of the tomatoes peeking out.
Bake it for 20 minutes and it will be a beautiful thing of beauty! Let it cool, slice it, and serve it!

Mmmmmmm... it came out so good! We sliced it up (it kinda looks like pizza doesn't it?) and served it with some simple sauteed spinach with garlic and pine nuts.

Happy eating everyone!