Saturday, August 6, 2011

The Big Apple


The Hubb-ster and I just returned from our vacation to NYC... and boy, did we have a great time! Usually, when we go somewhere for a while, we're looking a little forward to coming back home by the end of the trip. Not this time. We wanted to stay in the city where dreams are made of: New York. (Thanks Jay-Z and Alicia Keys).

Some of the highlights of our time in the Big Apple:

On the very first day of our trip we got to see history being made. How freaking cool is that? That's what I love about NYC! You're there for a few hours and you see something you can't see anywhere else: Pop-Up Wedding Chapels in Central Park in honor of NY's new law allowing same-sex couples to marry.

Holy guacamole, that's awesome!

Pop Up Chapel is an organization that provides FREE marriages to anyone wanting to get married. (I love that I can now type "anyone" and really mean it) According to their literature, "We provide the wedding! And the photographer! And the officiant! And witnesses! And cupcakes! And everything you’ve always dreamed of! A free and legal wedding, for anyone who wants to get married." So very cool. And we got to watch some of these long-awaited nuptials. Again, very cool.

One of the very nifty and artsy arches that couples could marry under...
After witnessing a bit of history... we strolled through Central Park and I snapped this adorable photo of Ryan and my great-aunt Ruth. She is the whole reason we went up there - to hang out with the coolest lady I know!
Ryan and the coolest lady we know ;)
Then we had some delicious lunch at our favorite sandwich place! (name is escaping me now...)

The best is their curried chicken salad sandwich

I'm so glad we're related ;)

Then we checked out the Museum of Art & Design (MAD) that's right there in Columbus Circle. At first, I felt kinda guilty... I knew that only I would enjoy the museum while Ryan sat on a bench near the door surfing the net on his iPhone. But, I wanted to go anyway. (Mwahaha) Turns out, this was the one museum exhibit that he liked! It was one of the coolest exhibits I've ever seen in a museum. It was called "Other worlds" and was an exhibit of dioramas and miniatures. Squeal! If you did not know this about me before, well... here it is: My name is Mari Bland Smith and I am obsessed with miniature things. Dollhouse furniture? Obsessed. Magnets of mini kitchen equipment? In love. So, this was so far up my alley that I could barely contain myself. The best part? I could take pictures and share them on my blog for the world (Ok... the 14 people that read this blog) to enjoy! So, here we go...

Check out this nifty diorama.
Now... check out the photo that the artist took of it HERE
Artist: Matthew Albanese
Oooo... what's in there?
Amazing! Each of those little roses was attached with tweezers!
Click HERE to see some of Patrick Jacob's other work.

This one had a pretty fantastic impact.
Click HERE to see how large the building is.

And this is what you saw when you look through the window!
Artists: David Lawrey and Jaki Middleton
Even if you're not obsessed with dioramas like myself, you have to admit that was pretty cool, right?

Ok... next on the agenda


Ohhhhh yeah. You know it.


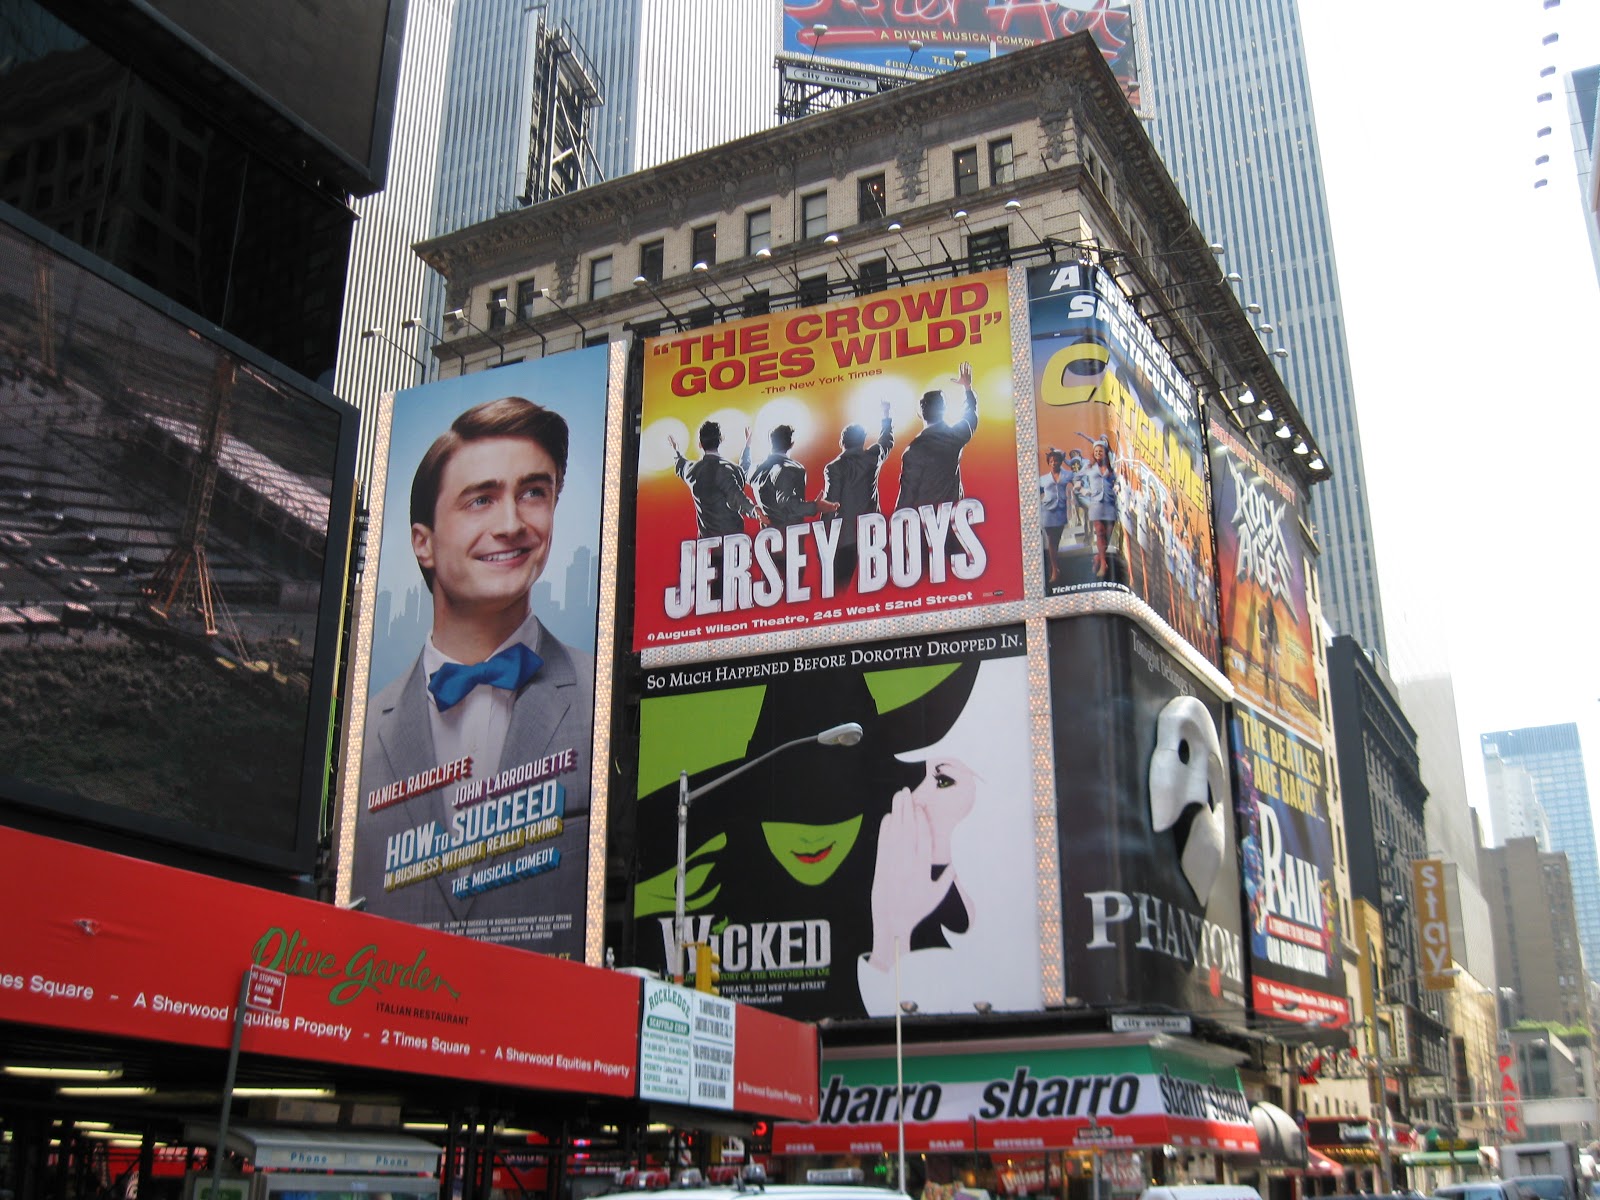
We walked to the Al Hirschfeld Theatre to see that precious boy wizard wonder, Daniel Radcliffe in "How to Succeed in Business Without Really Trying."

Ready to see Mr. Potter Mr. Radcliffe!
Inside the theatre
(shhhh... I wasn't supposed to take this photo!)
The show was HILARIOUS and fabulous: everything you want from a Broadway musical. John Larroquette and Daniel Radcliffe were funny just by standing next to each other (Radcliffe is a little short; Larroquette is quite tall). The sets were amazing... brought you back to the 1960s (whether you were alive then or not) and the costumes were great. Radcliffe was precious and he could sign, by golly! You could tell he loved every minute of it by the redness of his face, the sweat pouring off of his brow, and the goofy grin plastered to his face at the end of the high-energy musical numbers. Adorable. We all loved it and it was definitely worth every penny!

(I just had to throw this picture in... haha)
The quintessential New Yorker ;)
Ryan in the front seat of a NY cab
For lunch, we wanted to try Mario Batali's "Eataly."


It was a pretty intense experience... it's a huge marketplace full of all kinds of Italian produce, cheeses, pastas, etc.
Just a few tomatoes...
We wanted to sit down and eat (novel concept, right?), but it was going to be a 45 minute wait... at 2:30 in the afternoon! There were swarms of people everywhere and you could barely walk through the dang place.


Needless to say... we didn't eat there. Lol. We ate at a little cafe that was quite tasty... and there was no wait.

As we were walking down the streets, I noticed two people wearing "Pan Am" name tags. I just kept walking and then I thought to myself, "Hmmm... Pan Am hasn't been around for quite some time... why would people be wearing name tags for a defunct airline?"

They would be wearing Pan Am name tags if they were shooting a scene for the new ABC show "Pan Am!" And that's what they were doing!

Don't you love the 2011 cab next to the old cab?

They were powdering-up an actress (the one in green).
Even the bell-hops were in costume!

Love that car!
In the evening, we went to the famous Radio City Music hall to see "Zarkana" - the new Cirque Du Soleil show.


Radio City Music Hall
Inside the Radio City Music Hall

A pretty impressive stage!
The next day we went to the Harry Potter Exhibition at the Discovery Times Square Museum. Sadly, we couldn't take pictures inside, but it was so neat! All the props from the movies were there: everything from Harry's glasses to Buckbeak herself!

And there's the car!
After the exhibit, we went to "Junior's" for some BLT's and cheesecake (a very healthy lunch)...

(I did take some of that bacon off before I ate it...)

Times Square

Enjoying NYC
That night I met up with some of my Girls State friends who live in NYC at a very cool South African restaurant - Xai Xai. It was delish!
Ostrich Burgers!


Allison and her goat cheese stuffed pepperdews
YUM.
On our last day we hopped on the subway and headed to the South Street Seaport!

Waiting to board the subway...
We had a nice stroll through the seaport. There was a nice breeze and it wasn't too crowded - the perfect end of our trip! (not that we wanted it to end...)

View from the seaport
So, after lunch down by the Fulton Fish Market (or what was The Fulton Fish Market), we headed back to Columbus Circle.

The Time Warner Building
One of Ryan's goals for this trip was to have real NY pizza. And so we did:


It was delicious and tasted nothing like any pizza we could get in Kathleen, GA. Boooooooo. But, then what would be the fun of NY pizza if you could get it in Georgia, right?

So, we packed and left the next morning. :( Very sad day.

Aunt Ruth packed us QUITE the lunch for our trip home!


You can't really tell from this photo, but we were delayed in boarding our flight because they couldn't get the electronic walkway thingy hooked up to the plane. It was like watching someone try to kiss a wall blindfolded. (If that person's face and lips were faulty electronic equipment...)

"Yes! Right there... just hook the walkway up there and we'll hack through the
side of the plane with an axe. It will totally work."
Hilarious. We didn't even have the heart to be annoyed... it was so pathetic.

So, now we're back in Georgia where it's a billion degrees and there are no movies being shot on the street or boys marrying other boys. Boring. But, it's where we live and so we do!

Stay tuned for this coming week... I'll be getting another farmer's basket!

~ Mari

Wednesday, July 27, 2011

What To Do With Purple Hull Peas:


Remember how I asked for purple hull pea recipes in my last post? Well, I didn't get any responses (it's ok... I doubt anyone knew what to do with them)... so I made one up! (as a side note, I did find one recipe on the world wide interweb that called for "fat back." I did NOT make that recipe.) I hulled the little buggers and they looked a lot like black eyed peas... so I made a three- bean salsa that came out pretty dang good, I must say! You'd like to know how to make it, you say? Wish granted:

Three Bean Salsa

1.5 cups cooked purple hull peas or black eyed peas (to cook, just boil in salted water until tender)
1 can black beans
1 can white beans
1 large red bell pepper, cored and diced
1.5 cups frozen corn, cooked (according to package directions)
1 container salsa
3 tomatoes, diced
juice (and zest) of one lime
1 small handful of cilantro
Salt, to taste
Smoked paprika, to taste
Ground red pepper, to taste
Chili Powder, to taste
Onion powder, to taste (you can use a fresh onion, but raw onions are rough on my tummy... so I stay away)

Drain the canned beans and combine everything in a large bowl until it tastes how you want it to! It doesn't get much more simple than that! (Note: use half of the lime zest first and then taste it. If it's perfect, don't add the rest of the zest - it might be too overpowering, depending on the size of your lime)

Purple Hull Peas
(no longer in the shell)

Those are my preferred bean brands.

Spices!
Mix it all up and enjoy!
Ryan and I ate the heck out of this stuff! I used it as a side dish with some baked grouper and we also ate it with some blue corn chips (Frito-Lay brand, of course). But, I think it would be great with tacos or quesadillas or... well... in a spoon!

Hope you enjoy it!

~ Mari

Tuesday, July 19, 2011

New Project...

I could barely contain my excitement when I picked up my very first CSA (Community Supported Agriculture) bag yesterday evening... and can you blame me? Look at all the goodies I got for just $20!

(Clockwise from left)
Purple Hull Peas
White Hakurei Turnips
Bag of asian greens
Cucumbers
Baby Summer Squash
Yellow Peppers
Purple Eggplant
White Eggplant

To be honest, I've never worked with peas, turnips, or asian greens, so this will be an adventure! I will be getting one of these each week for the next 9 weeks and I plan to make some exciting new dishes with these exciting new ingredients! And please... if you have any suggestions, let me know! (Purple Hull Pea recipes anyone??)

Last night I did use those precious little summer squash on a yummy pasta dish. I just sauteed them with some shallots and added some (homemade) frozen pesto. Then I boiled some penne pasta and tossed it all together. I knew I could get Mr. Smith to eat squash! All I had to do was disguise it in pesto and pasta... two of his favorites!

So- keep checking back for the next 9 weeks for recipes (and, I'm sure, some epic recipe failures)!

~ Mari

P.S. If you're in the Macon/Warner Robins area, here is the website for the CSA baskets.

Monday, July 18, 2011

No Campfire Required


Smore's are the quintessential summer dessert. Images of campfires and flaming marshmallows come to mind... and then that yummy flavor of crispy and sweet graham crackers with gooey warm chocolate and crunchy/fluffy marshmallows... it's pretty delicious. So, when my mom emailed me this recipe, I got quite excited: Smore's... no campfire required!

Individual Smore's Cups and Bars

1 pouch (1 lb 1.5 oz) Betty Crocker® sugar cookie mix
1 cup graham cracker crumbs

1 cup butter or margarine, melted

16 snack size Hershey bars

4 1/2 cups miniature marshmallows

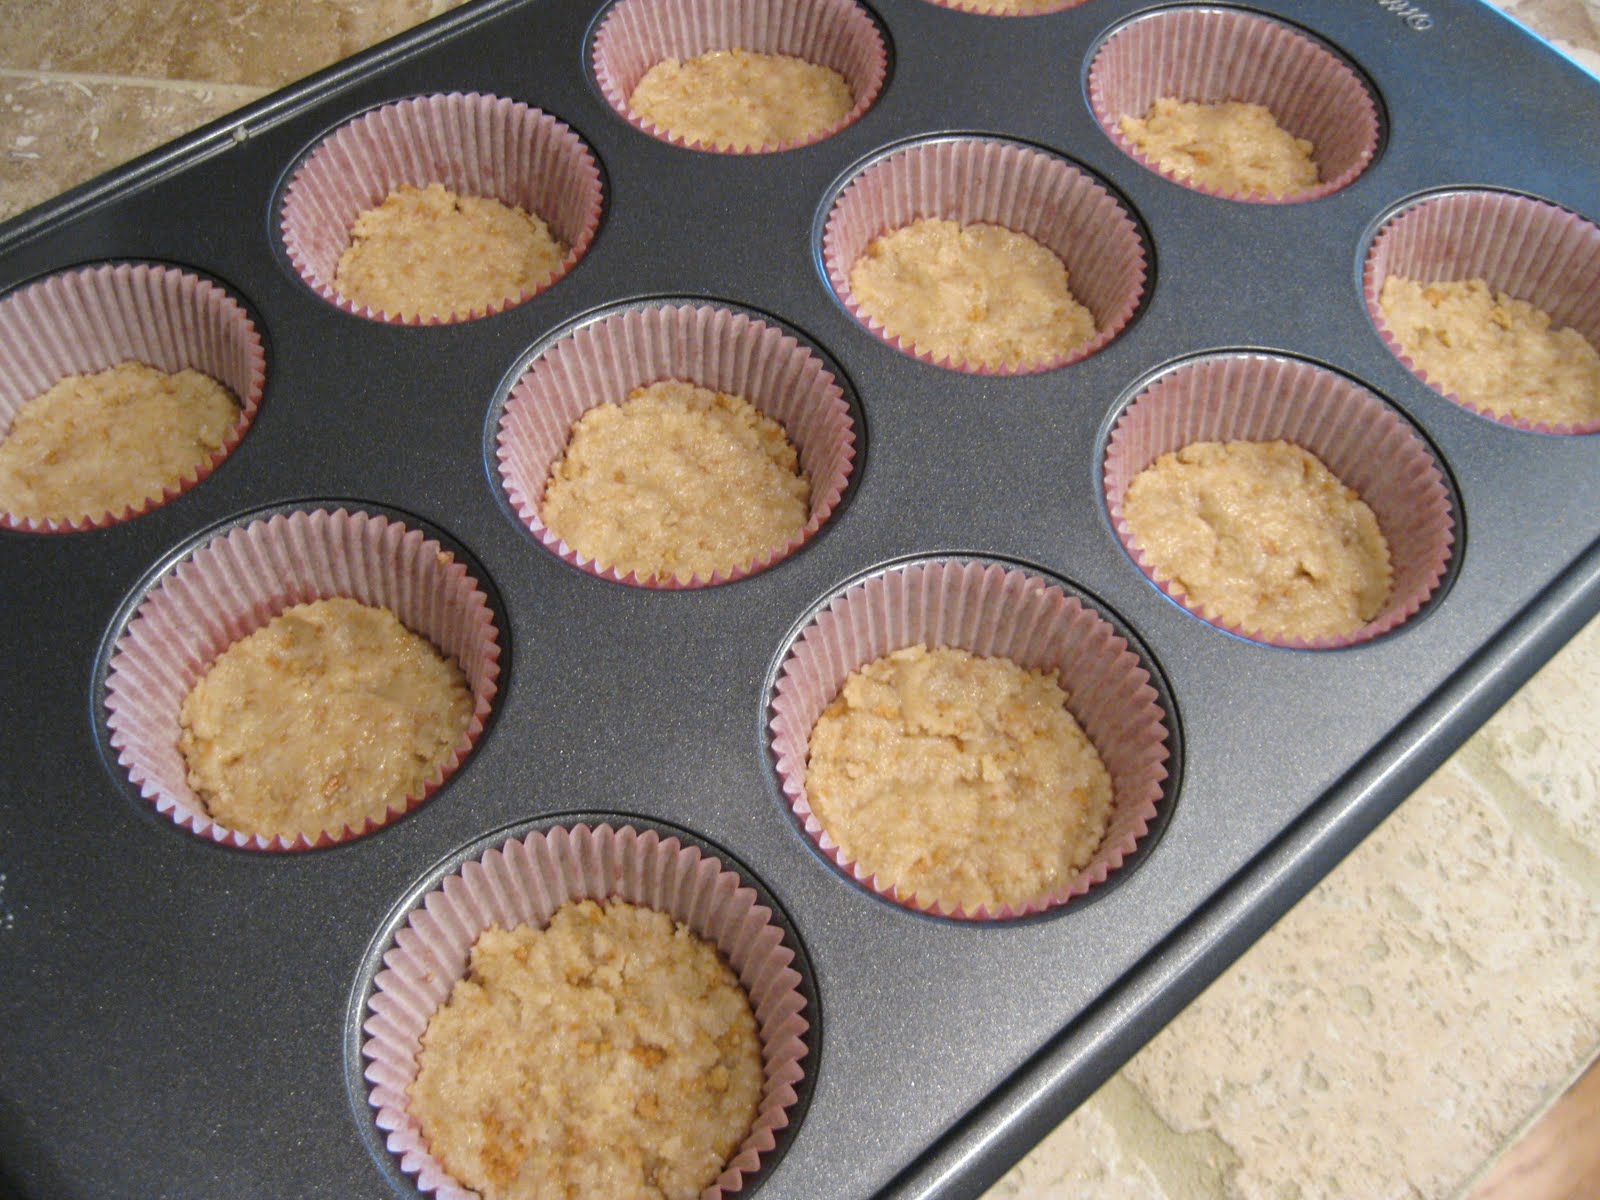
Heat oven to 375°F. In large bowl, stir together cookie mix and crumbs. Stir in melted butter until soft dough forms. Place cupcake liners in muffin tin. Press the dough into the bottom of each slot (should be 1/8 or ¼ inch thick). Take the rest of the dough and press into the bottom of an ungreased 8x8” pan.

Bake muffin tin for 10-15 minutes and the 8x8” pan 18-20 minutes or until set. Break the hershey’s bars in half and immediately put one in each of the cupcake liners. Once the 8x8” pan is out of the oven, do the same. Let stand 3 to 5 minutes or until chocolate begins to melt. (You can stick them back in the oven for 1-2 minutes if it isn’t melting)

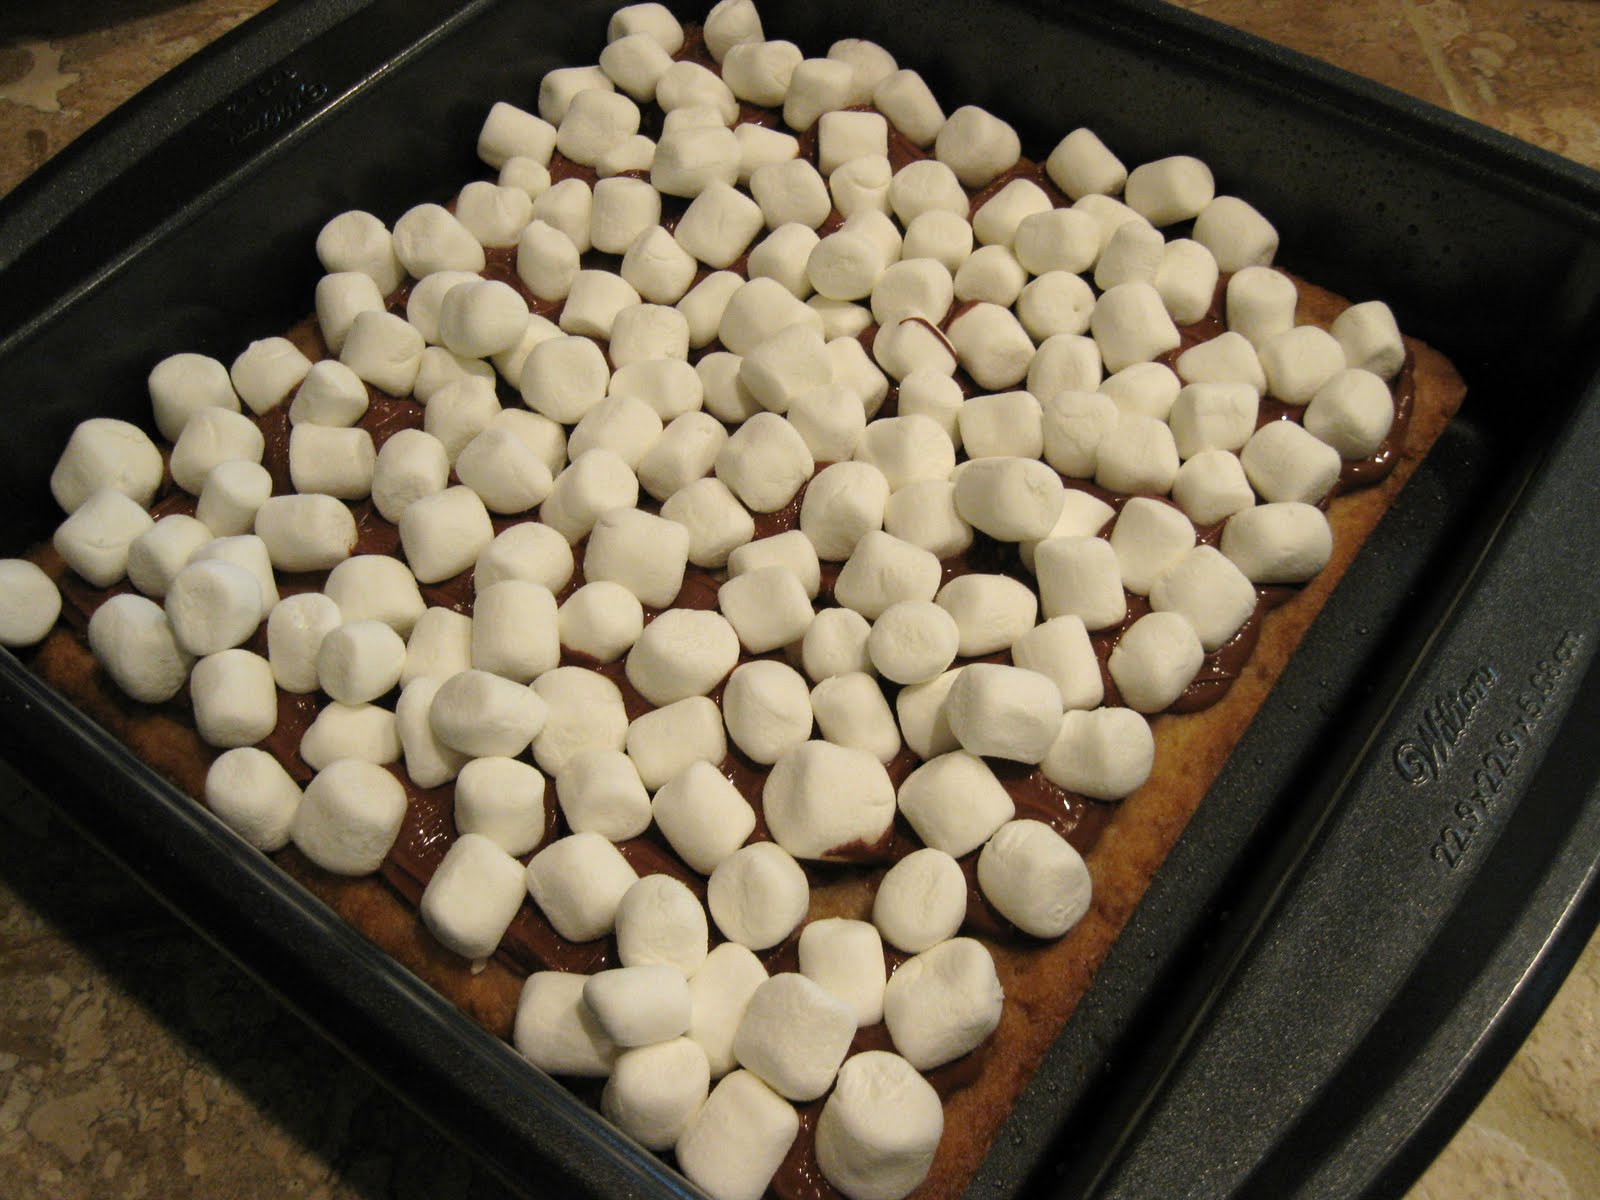
Set oven control to broil. Sprinkle marshmallows over melted chocolate. Broil with top 4 to 5 inches from heat 20 to 30 seconds or until marshmallows are toasted. (Watch closely; marshmallows will brown quickly.) Cool 10 minutes. For bars, cut into 6 rows by 4 rows. Serve warm. Store any remaining bars/cups tightly covered.

Mise en Place

You can take out your frustration on the
graham crackers by pounding them
into oblivion...

After you add the butter to the dry mixture

Press the dough into the bottom of the cupcake liners

Press the dough into the baking pan

All baked!

Add the chocolate...

Nice and melty!

Do the same with the large pan
Add the marshmallows!


Ta-dah! :)
So, there you have it! The most yummy of smore's... and you don't have to be outside in the woods to eat them! Now, as a VERY IMPORTANT side note, do NOT stop watching them when they're under the broiler. I repeat: DO NOT take your eyes off of them. Why? This, my friends, is why:

Is it the surface of the moon? Nope. It's a lovely lava field of flame-broiled mini marshmallows. Don't do this. You'll be sad. Remember: only YOU can prevent marshmallow fires. :)
 
~ Mari

Tuesday, July 12, 2011

Thai Noodle Salad


According to the radio, today we have a heat advisory here in Middle Georgia. The high is going to be 102 degrees, but it will feel like 110 degrees. Awesome. So, I wanted to share with you a very refreshing and cooling salad that can make that heat a bit more bearable.

I got the idea from this month's issue of Fine Cooking magazine (my favorite cooking mag). In it, there was a section on limes and what to do with them. (Just buy a big bag and make the agua fresca from my last post... and this salad. Yum!) One recipe that really stood out to me was the Vietnamese-Style Rice Noodle Salad. And so, I did what I do... and adapted. Here's what I came up with:

Thai Noodle Salad

1 bunch Japanese buckwheat noodles (I found them at Kroger)
1/2 tsp. sesame oil
2 cups shredded chinese cabbage (if you can't find this, use iceburg lettuce)
2.5 large handfuls of broccoli slaw mix
1 small cucumber, diced
3-4 medium radishes, thinly sliced
1 cup fresh mint leaves
1/2 cup salted peanuts, coarsely chopped

Dressing:
1/2 cup fresh lime juice
1/4 cup chopped cilantro
2 Tbsp. fish sauce
2 Tbsp. agave nectar
1 Tbsp. grated ginger
1 clove garlic, minced

Bring a large pot of water to a boil. Meanwhile, combine all of the dressing ingredients in a large bowl and let sit. When the water is boiling, add the noodles and stir. Cook according to the package directions. Drain in a colander and toss with the sesame oil (if it isn't enough to coat the noodles, add a little canola or olive oil).

While the noodles cool, prep the other veggies. Combine everything (except the peanuts) in the bowl and toss. Serve cool and sprinkle peanuts on top (so they don't get soggy).

Cooked buckwheat noodles
(They look just like what's on the package!)


Chinese Cabbage

Mmmm...

I served the salad with Chicken Satay
and Peanut Sauce
(Courtesy of Tyler Florence)
Stay cool and enjoy! ;)

~ Mari

Monday, July 11, 2011

A Tall Drink of Agua Fresca

Chances are, wherever you are right now, it's hot outside. And heat brings thirst... and I've honestly never had a more thirst-quenching and refreshing beverage than this one: Cucumber Lime Mint Agua Fresca. I realize it's a mouthfull (hah... I'm so punny), but it's so freaking fantastic! I don't usually post about beverages on this blog... in fact I don't think I ever have. But, this beverage deserved a post. It's from the site, Simply Recipes, and it is definitely simple to make and delicious to drink. Just make it. You'll be oh so glad and oh so cool.

Photo from Simply Recipes

Cucumber Lime Mint Agua Fresca
1 lb of cucumbers (about 2 good sized cucumbers), ends trimmed, but peel still on, coarsely chopped

1/2 cup lime juice from fresh limes (from about 1 pound of limes, or 5 to 10 limes, depending on how juicy they are)

1 1/4 cup packed mint leaves (about a large handful), woody stems removed

1/2 cup sugar (I used agave nectar to taste)

Approximately 1 1/4 cup of water

Put ingredients in blender, add enough water to fill 3/4 of blender. Hold the lid on the blender and purée until smooth. Place a fine mesh sieve over a bowl and pour the purée through it, pressing against the sieve with a rubber spatula or the back of a spoon to extract as much liquid out as possible. Fill a large pitcher halfway with ice cubes. Add the juice. Serve with sprigs of mint and slices of lime.

Easy peasy! Please make it... and tell me if you like it!
 
~ Mari

Saturday, July 2, 2011

Eggplant & Zucchini Gratin


It's been a while since I've posted a recipe, and I apologize. My job has gotten more intense (which is a good thing), and I've had less free time. But, that's really no excuse since we've still been eating meals every day... and I've been cooking them.

For instance, two nights ago I made this not-so-healthy-but-OMG-delicious gratin inspired by Ina Garten's Eggplant Gratin. (Though, her recipe makes It's a teensy bit time-consuming, but worth it in the end (and can be enjoyed for 3 nights...)! It tastes like eggplant Parmesan bought sexy lingerie to impress its significant other.

Eggplant & Zucchini Gratin

Olive oil, for frying

All purpose flour

Garlic Salt

3 small eggplant, peeled, sliced 1/4-inch thick

1 large zucchini, peeled, sliced 1/4-inch thick

15 oz. container low fat ricotta cheese

2 extra-large eggs

1 cup half-and-half

Grated Parmesan

Kosher salt

Freshly ground black pepper

3/4 jar tomato sauce

Shredded mozzarella cheese

Preheat the oven to 400 degrees F.

Put some all purpose flour into a bag with a few pinches of garlic salt. Add a few pieces of eggplant & zucchini and toss to coat.

Heat about 1/8-inch of olive oil in a very large frying pan over medium heat. When the oil is almost smoking, add several slices of eggplant/zucchini and cook, turning once, until they are evenly browned on both sides and cooked through, about 5 minutes. Be careful, it splatters! Transfer the cooked eggplant & zucchini slices to paper towels to drain. Add more oil, heat, and add more eggplant & zucchini until all the slices are cooked.

Meanwhile, in a medium bowl, whisk together the ricotta, eggs, half-and-half, teaspoon salt, and teaspoon pepper. Note: When using the lowfat ricotta, it will be harder to mix because it doesn't have as much moisture or fat in it. Just be patient and keep whisking! It will get there!

In a 9x13" baking pan, place a layer of eggplant & zucchini slices in the bottom, sprinkle with Parmesan, and spoon 1/2 of the tomato sauce over it evenly. Next, add a half of the ricotta mixture and spread evenly. Repeat the process by adding a second layer of eggplant & zucchini, more Parmesan, the other half the ricotta mixture, and finally grated Parmesan on top. As a finishing touch, sprinkle the shredded mozzarella over the entire top of the gratin.

Place the gratin in the oven on the middle rack and bake for 35-40 minutes or until the custard sets and the top is browned. Let cool 8-10 minutes. Serve!
And here are some photos to help you get through the process...

An eggplant still life
It's in the bag, yo.
Fryin' em' up!

Mmmm... crispy

Layered in the pan
Covered in sauce and cheese = how I want to die.

More cheese :)

Ta dah! Bellissimo!

Good grief this tastes good...

I hope you make this and enjoy it as much as I did! :)

Happy summer!

~ Mari